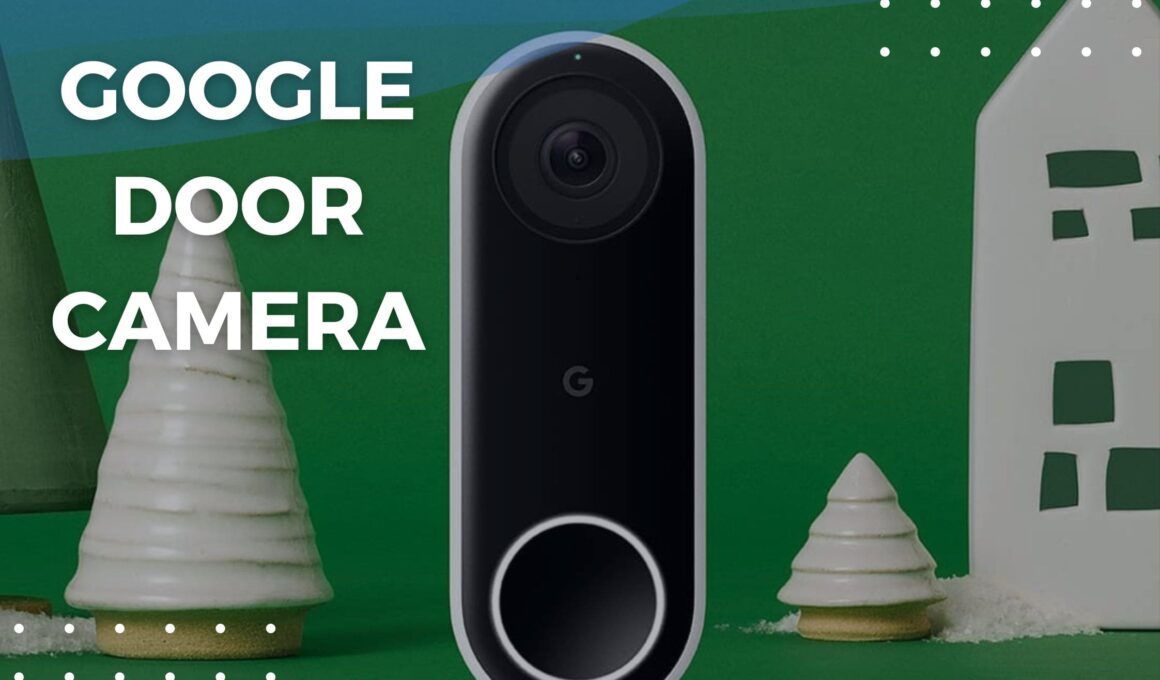
Greetings from the home security of the future! With its excellent features, the Google Nest Door Camera guarantees the safety and security of your house. The Nest door camera keeps an eye on your front door to bring you peace of mind, whether you’re at work or just lounging around the house. This tutorial will help you get the most out of this cutting-edge security gadget by guiding you through the steps of setting up and connecting your Google Nest door camera to Wi-Fi.
Why Choose the Google Nest Door Camera?
Let’s examine the following reasons why the Google Nest door camera is a wise investment for your home security needs before moving on to the setup process:
- High-quality video: You can view visitors well day or night thanks to the Nest door camera’s brilliant 1080p HD footage.
- Two-Way Audio: Even when you’re not at home, you can still converse with guests using the integrated speaker and microphone.
- Motion Alerts: Whenever your door is approached or there is motion detected by the camera, you will receive notifications on your phone.
- Simple Integration: For a smart home experience, seamlessly interacts with Google Assistant and other Google Nest products.
- Cloud Storage: This feature lets you save video footage on the cloud, protecting those crucial moments.
Connecting Your Google Nest Door Camera to Wi-Fi
Linking your Nest door camera to your Wi-Fi network is the first step in configuring it. To guarantee a seamless connection, adhere to these easy steps:
Step 1. Download the Google Home App
1. Download the App: On your smartphone, begin by installing the Google Home app. It may be accessed on iOS and Android smartphones.
2. Sign In: Launch the application and log in using your Google credentials. You’ll need to make an account if you don’t already have one.
Step 2: Power Up Your Nest Door Camera
1. Open the box and Examine: Open the Nest door camera box and make sure all of the parts are there.
2. Plug In: Using the included adapter and cord, attach the camera to a power source. The camera ought to turn on by itself.
Step 3: Add the Device to the Google Home App
1. Launch the App: On your smartphone, launch the Google Home app.
2. Add Device: On the app’s home screen, tap the ‘+’ icon located in the upper left corner.
3. Set Up Device: From the menu, select “Set up device,” then “New devices.”
4. Select a house: If prompted, enter your current house or start a new one.
5. Choose Your Device: The application will initiate a device search. Choose your Nest door camera from the list once it has located it.
Step 4: Connect to Wi-Fi
1. Wi-Fi Selection: From the list of available networks, select your Wi-Fi network.
2. Enter Password: To link the camera to your network, enter your Wi-Fi password.
3. Verify Connection: Watch for a video connection. This could require a short while. You’ll see a confirmation message after connecting.
Step 5: Test the Connection
1. Video Feed: To make sure your camera is operating properly, check the live video feed on the Google Home app.
2. Positioning: To get the greatest view of your front entrance, adjust the angle and position of the camera as needed.
Setting Up Your Google Nest Door Camera
Now that your Nest door camera is linked to Wi-Fi, it’s time to finish the configuration. The following is a step-by-step method to fully configure your camera:
Step 1: Install the Camera
1. Select a Spot: Select a location at your front entrance where the camera can get a good picture of guests and parcels.
2. Mounting: To install the camera, use the mounting gear that is included. Make sure it’s properly anchored and raised for the best possible view.
Step 2: Configure Settings in the Google Home App
1. Access Device Settings: Choose your Nest door camera in the Google Home app, then touch the settings button.
2. Name Your Camera: To make it easier to identify, give your camera a distinctive name, such “Front Door Camera.”
3. Modify Camera Settings: Set up the camera to your liking by adjusting the video quality, night vision, and notifications.
Step 3: Set Up Motion Detection
1. Motion Zones: To concentrate on busy locations and cut down on false alarms, designate particular motion zones within the app.
2. Sensitivity: Modify the motion detecting sensitivity to strike a compromise between registering significant occurrences and preventing pointless alerts.
Step 4: Enable Alerts and Notifications
1. Push Notifications: Turn on push notifications to get updates on your smartphone in real time if the doorbell rings or the camera detects movement.
2. Email notifications: If you would like further notification choices, you can optionally set up email notifications.
Step 5: Integrate with Other Smart Devices
1. Google Assistant: Pair your Nest door camera with Google Assistant to view the live stream and operate the camera with voice commands.
2. Smart Displays: You can see the camera stream right on the screen if you own a Google Nest Hub or another type of smart display.
Step 6: Subscribe to Nest Aware
1. Cloud Storage: For cloud storage, smart notifications, and cutting-edge capabilities like facial recognition, think about signing up for Nest Aware.
2. Subscription Plans: Select the one that best suits your requirements. Nest Aware provides a range of choices based on the functionality and storage capacity you need.
Troubleshooting Common Issues
Even with a simple setup procedure, problems may still arise. The following are typical issues and how to fix them:
- Problem: Camera Won’t Connect to Wi-Fi
- Solution: Make sure your network is operational and that your Wi-Fi password is accurate. During setup, consider relocating the camera closer to the router.
- Problem: No Video Feed
- Solution: Verify that the camera is correctly plugged in and that the power connection is secure. If required, restart the Google Home app and the camera.
- Problem: Delayed Notifications
- Solution: Make sure the Google Home app can send you notifications on your smartphone. In the app, change the sensitivity of the motion detection.
Also Read: Samsung Galaxy S25 ULTRA: Launch , leaks, rumored price, and Release Date
Final Thoughts
Your home security is greatly increased by the simple process of setting up your Google Nest door camera. You’ll guarantee a seamless setup, dependable connection, and peak performance from your camera by adhering to this advice. Accept the comfort that comes with knowing one of the greatest security cameras available is keeping an eye on your house.
To maintain the optimal performance of your Nest door camera, don’t forget to routinely check for firmware upgrades and app updates. After completing these steps, your house is now smarter and safer for you to enjoy.


